

Time is money, and if your job requires sending out hundreds of generic emails—think "Thank You" notes and sales pitches—you could save days of work by creating templates stored within your Gmail called "canned responses."
For example, surviving as a freelancer requires constantly emailing potential clients for gigs. You may send out tens of emails a day in hopes of stealing a small temporary part-time opportunity from the 300+ applicants that applied to the same job.
Theoretically, you could send at least 3,650 seemingly "personalized" emails a year, with the vast majority of them being entirely fruitless. So how much wasted time and money is that? Let's do some quick math...
Canned vs. Template Emails
For a while, I used a job application template that I had saved to my desktop as a .txt document. Suspecting I was using an inefficient strategy, I decided to time myself sending an email with the .txt document template, then compare it to sending a canned email.

Using keyboard shortcuts, it took me 18.32 seconds to click on the .txt document, wait for it to open, copy it, open a new message in Gmail, and paste it in.
That's 18.32 seconds for each of the 10 emails I send a day, for 365 days, which is equal to 66,868 seconds, or 18.57 hours of lost work. Not good.
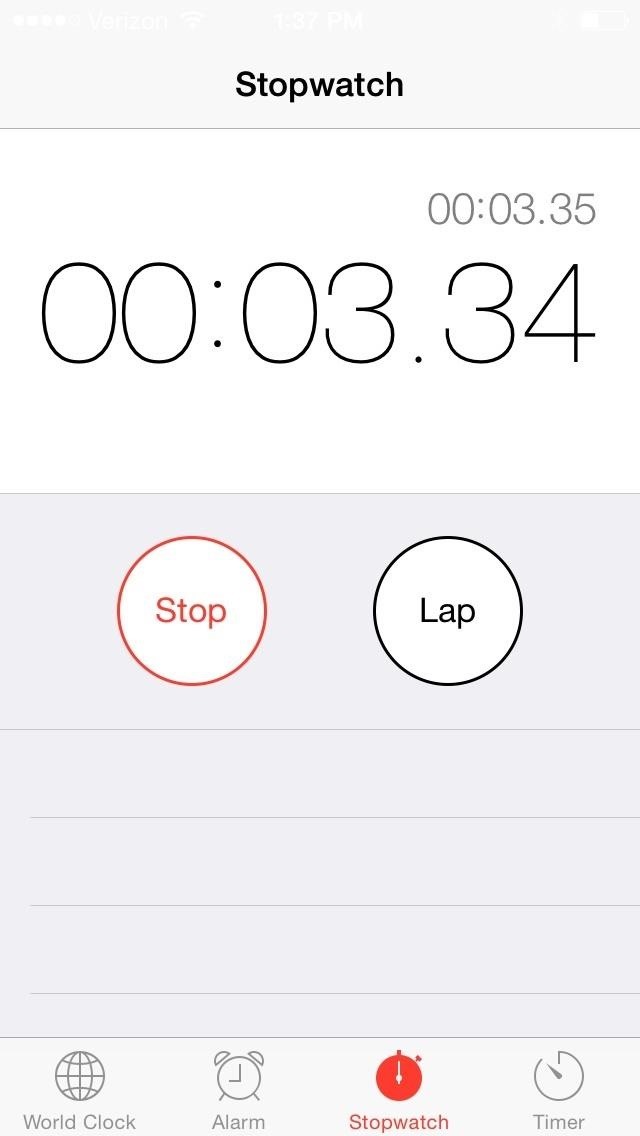
On the other hand, a canned email took me just 3.34 seconds, or 3.38 hours a year, saving me about 15 hours a year of work.
Depending on your income and how many generic messages you send, that could be a lot of money. It's clear that canned emails are worth their setup time, so lets get into fine-tuning your strategy.
Step 1: Go to Your Gmail Settings
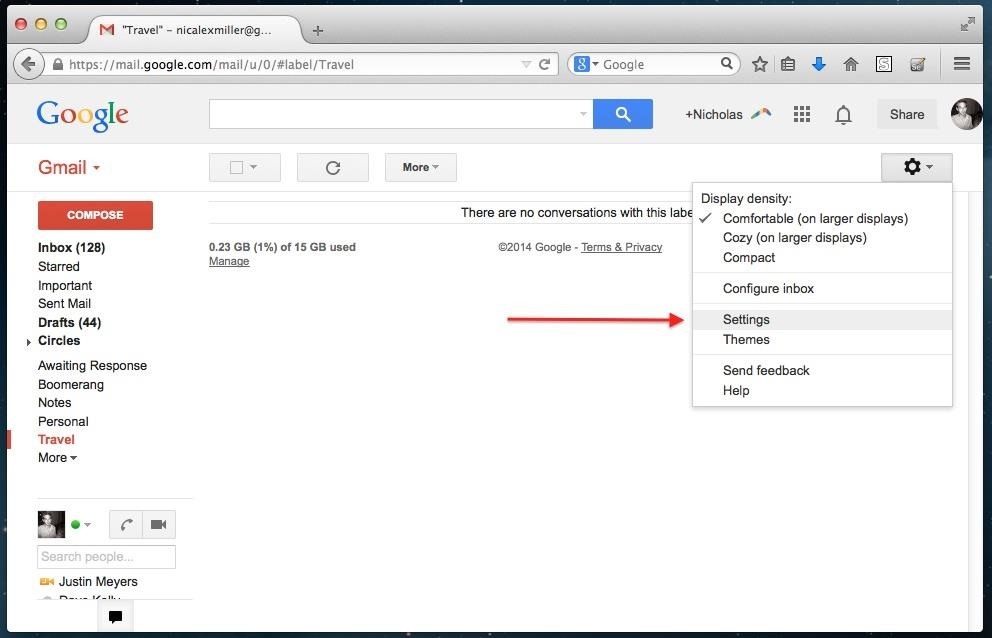
You'll need to enable canned emailing before you can use it. After logging into Gmail, click on the cog icon to access Settings.
Step 2: Enable the Canned Responses "Lab"
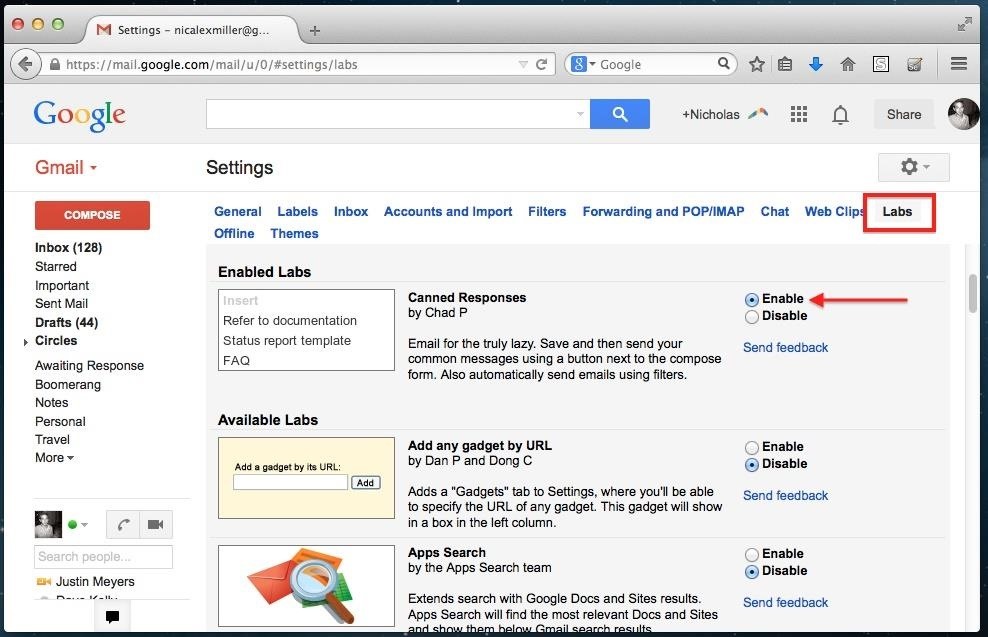
In the Labs tab, you will find a number of optional Gmail features. Scroll down to Canned Responses and click "Enable."
Step 3: Create a Canned Email
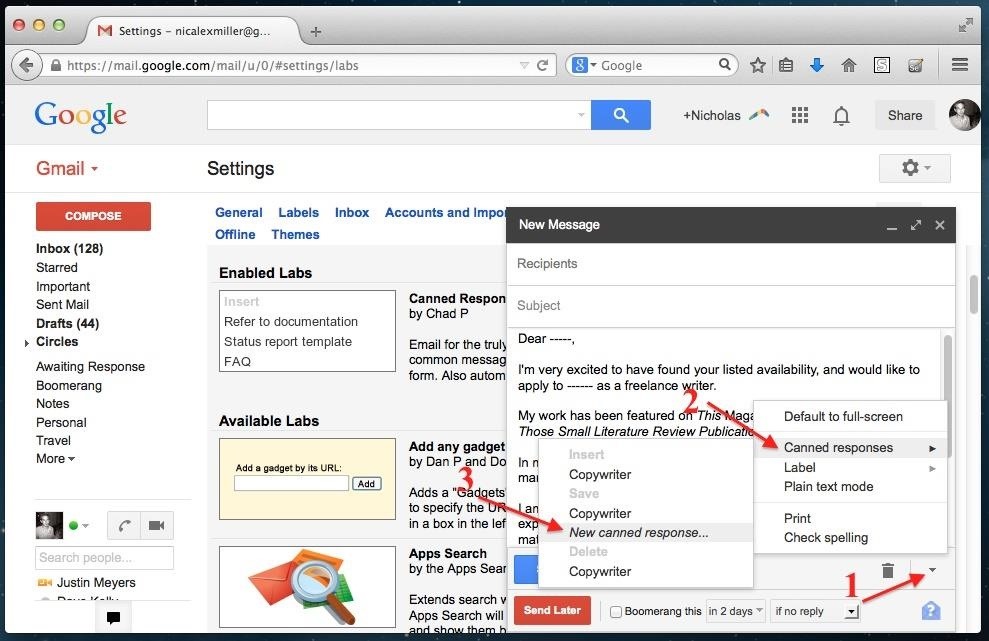
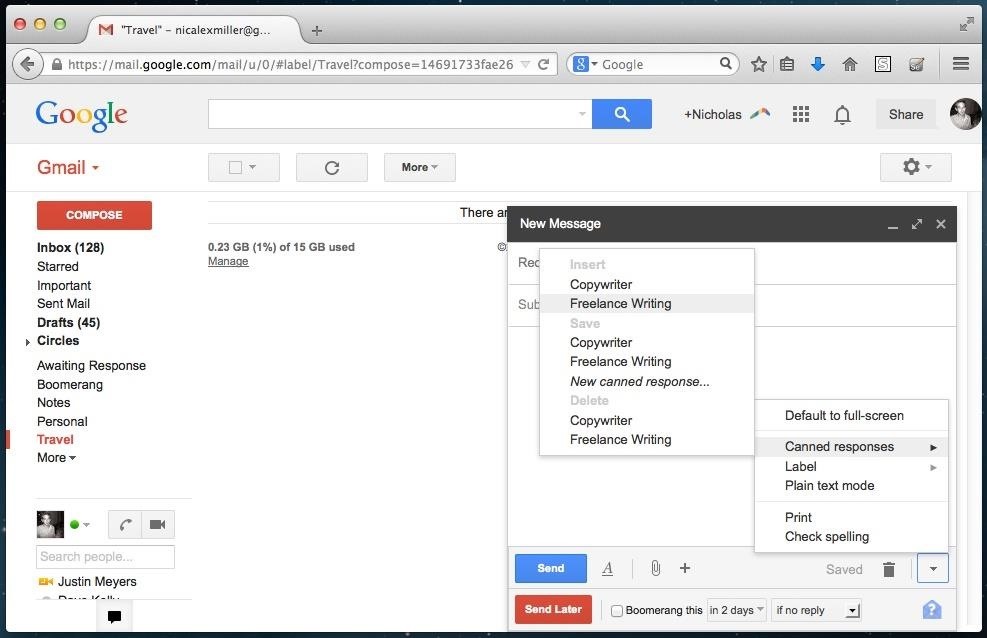
To create the canned email, compose a new message and insert the generic template that you want canned. Take care to leave appropriate markings where you'll want to customize each one as needed (I just use hyphens as you can see in the image below). Next, click on the small arrow next to the trash bin icon, open Canned responses, and select New canned response…
Since you're allowed to make as many canned emails as you want, you'll want to give a meaningful name for each one.
Step 4: Use Your Canned Emails
Once your canned response is saved, you can access it the same way you saved it. This time, click the title of your email under "Insert."
Whether it's a "thank you" note, a rejection letter, a sales pitch, or a job application, canned emails can literally save you hundreds of dollars when every second counts.
Just updated your iPhone? You'll find new emoji, enhanced security, podcast transcripts, Apple Cash virtual numbers, and other useful features. There are even new additions hidden within Safari. Find out what's new and changed on your iPhone with the iOS 17.4 update.


Be the First to Comment
Share Your Thoughts