After my hard drive crashed recently, I lost everything. Old college essays, half-written stories, short films, and most importantly, all of the photos that I had saved from the past five years... all gone.
Since I didn't back up my hard drive (stupid mistake #1), or upload photos to cloud services (stupid mistake #2), I was royally screwed.
Then I remembered that most of the photos I had saved had been emailed back and forth, shared between myself and friends and family members. So I started going through my emails, making my way through swarms of attachments, occasionally finding a few of the pictures that I once had on my hard drive.
But after a while, the burden was clear. With the sheer amount of emails in my inbox, I knew I had to find a way to speed things up. Instead of spending hours looking through old emails, I'm going to show you three easy methods to quickly find all of those photo attachments in your Gmail account.
Method #1: Use Advanced Search
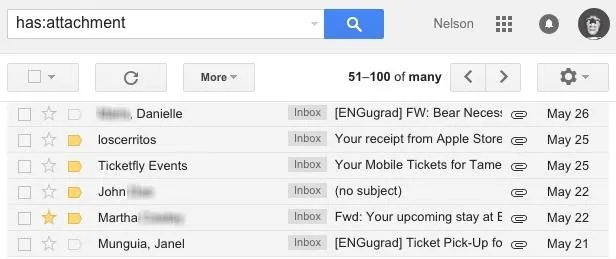
If you want to take the broad approach at finding photo attachments in Gmail, since there are several formats, you can qualify your search by entering "has:attachment" into the search bar to every single email with an attachment. From there, it's up to you to go through everything, which will include emails not only with photos, but also videos, documents, PDFs, etc.
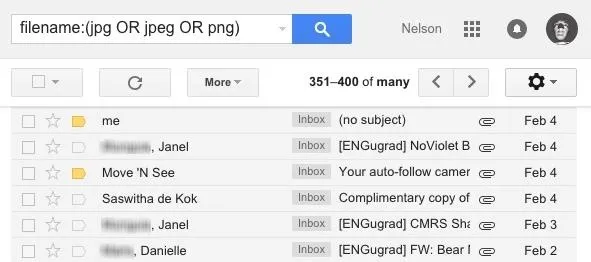
Instead, narrow down your search by further qualifying the search, using "filename:(jpg OR jpeg OR png)." This keyword will provide a more refined search, showing only emails with pictures attached.
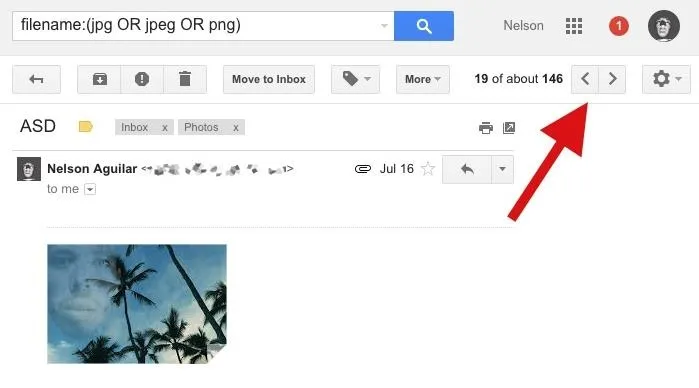
Since this method is a bit tedious, you can speed up the process of viewing photos by opening an email and using the arrow icons at the top to view attachment previews quickly, without having to go back to open each email individually.
Method #2: Microsoft Outlook & IMAP
With Outlook and IMAP, you can quickly download all your emails offline to easily view the bulk of photo attachments they contain.
Start by clicking on the gear icon at the top right of Gmail, then go into Settings. From the options available, click on "Forwarding and POP/IMAP," then scroll down and check the circle next to "Enable IMAP."

Now go back to Inbox and do the following:
- Enter "filename:(jpg OR jpeg OR png)" into the search bar.
- Click on "All" to select all the emails with photo attachments.
- Click on the Label icon and create a new one called Photos (or something similar).
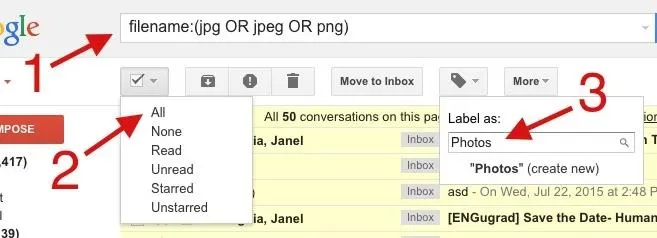
This will now create a folder which you can easily access in Outlook. I found this method to be easier to use than the first one, simply because offline emails open faster than those on Google's servers. When you preview a photo, you'll see it in a separate, resizable window.
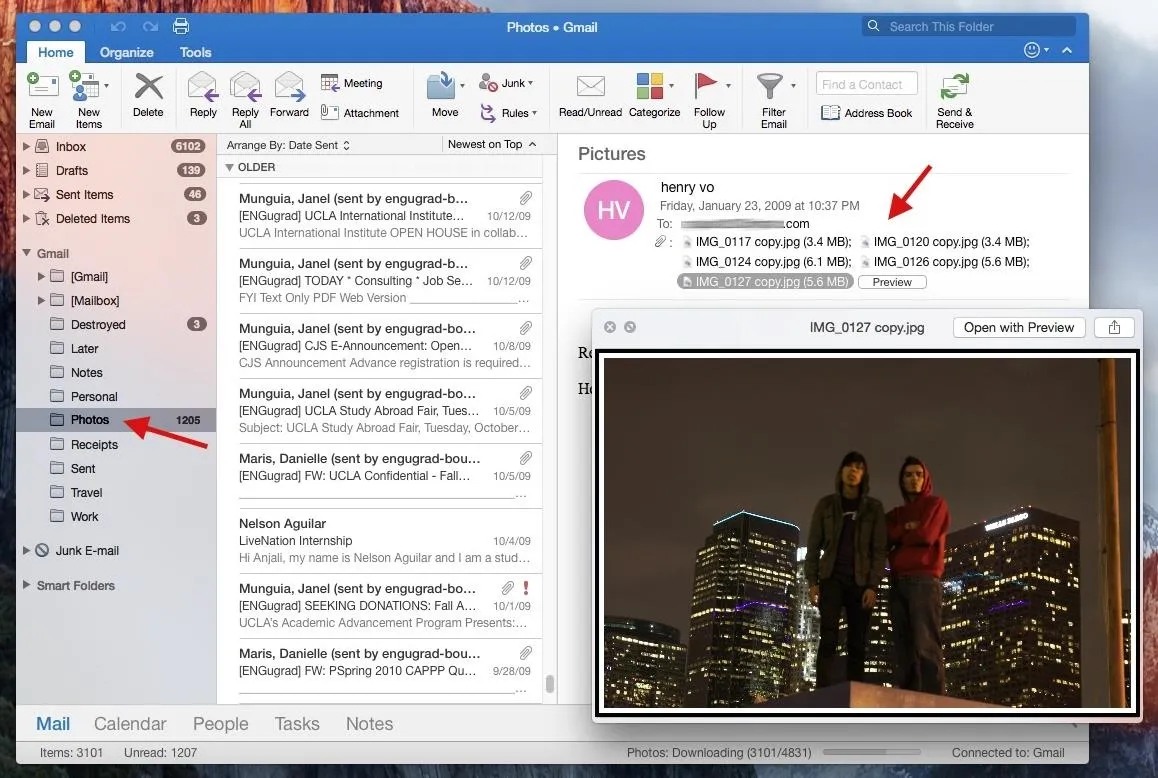
If you're using Outlook on Windows, you can use the GetEmailAttachments macro to download all photo attachments in your Photos folder, although that may not be an ideal solution since there are probably images you don't want.
Method #3: Mailcloud for Android & iOS
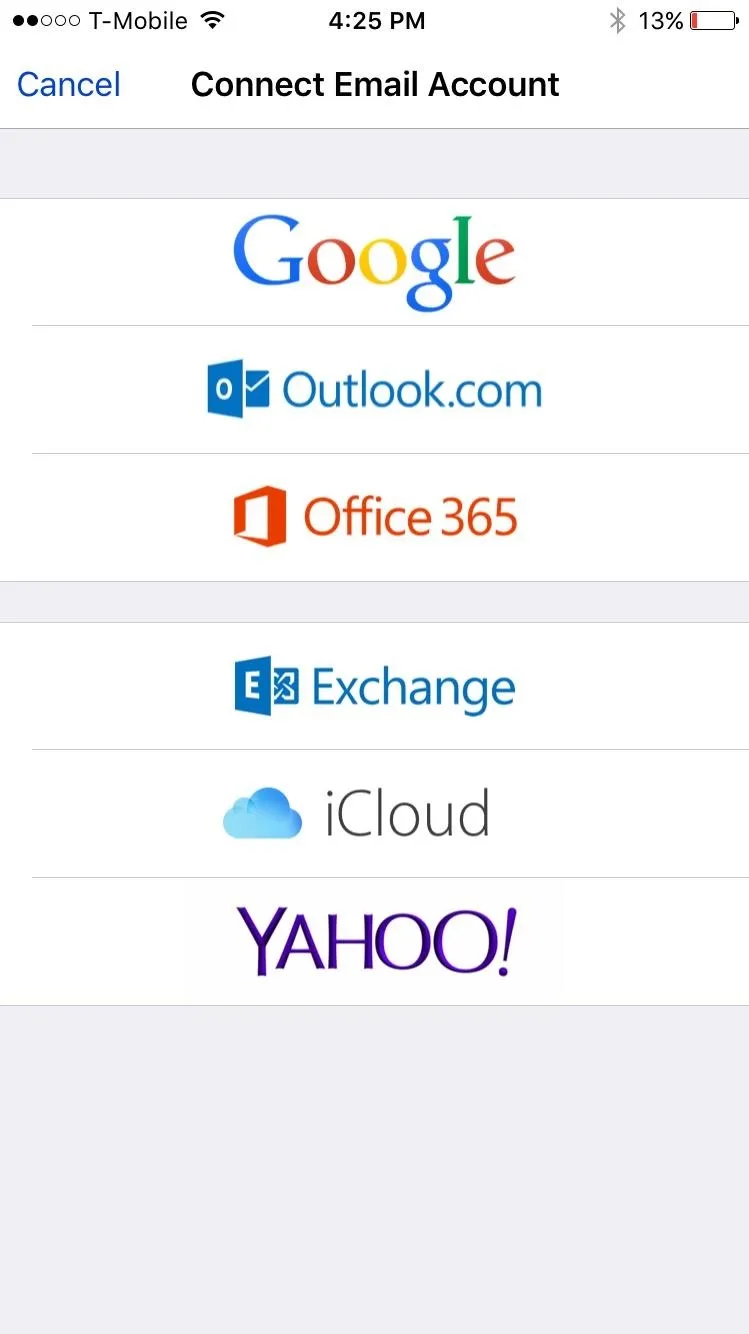
Mailcloud, available soon for Android and iOS (sign up for beta access on their site), offers you the easiest option for extracting photos from your email by doing all the work for you. Simply log in to your Google (or other email) account and wait for Mailcloud to pull all of the files from your inbox, which can take up to several hours.


Once it's done, you can head over to the "Photos" option at the bottom of Mailcloud to see all your photo attachments, from every single email, in a grid.
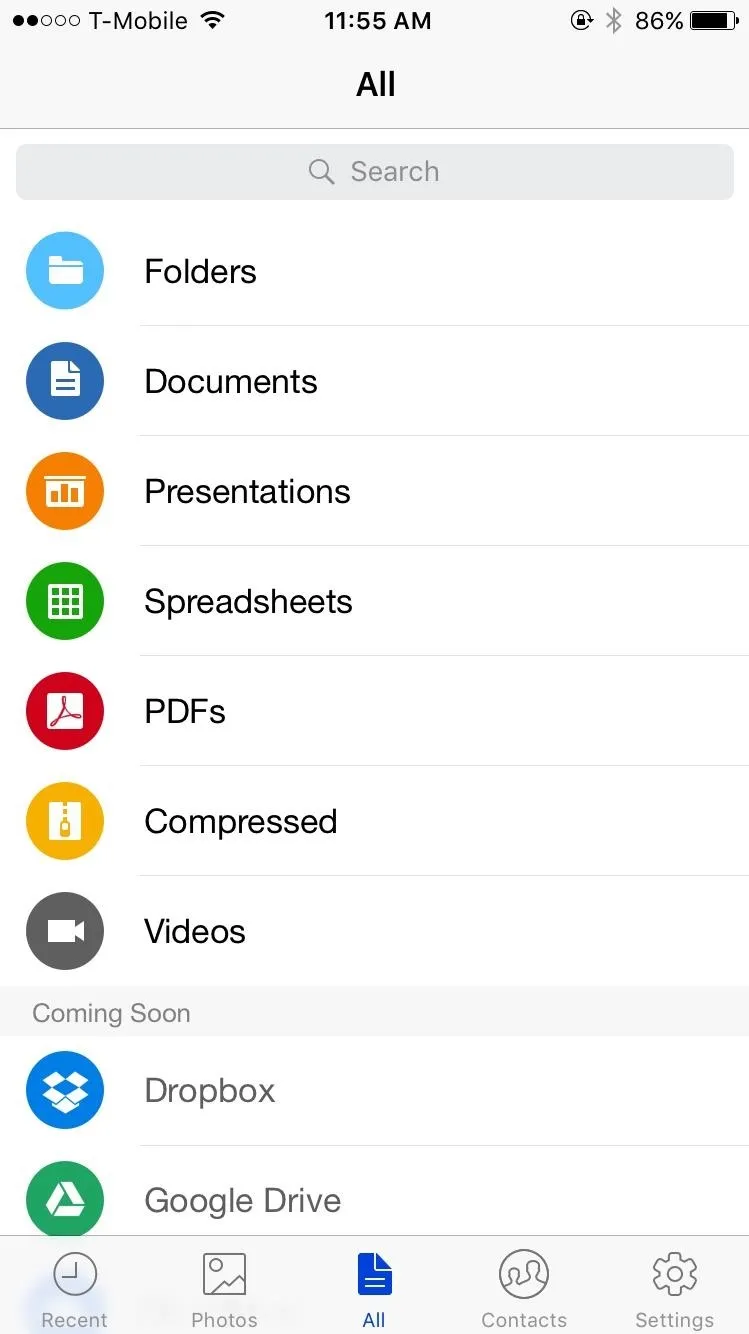
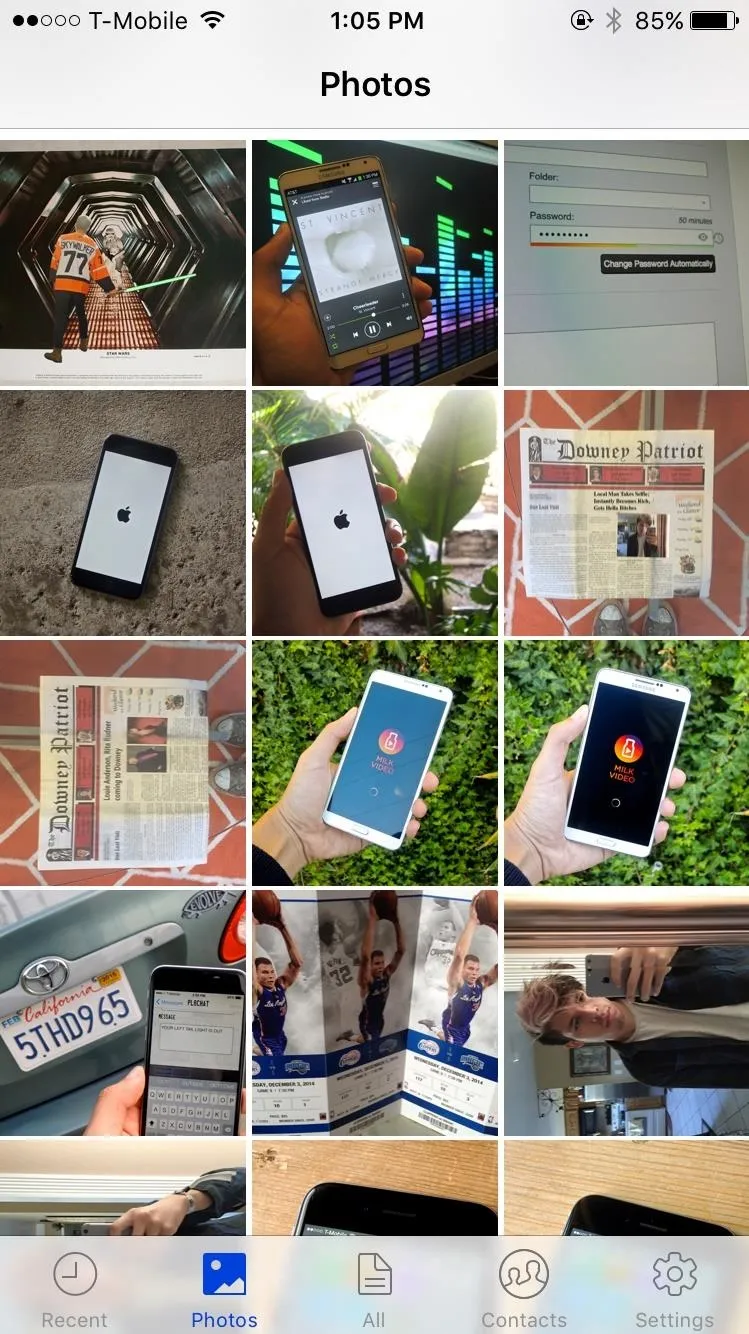


Tap on a photo and you'll see the date the photo was sent or received, as well as options to save the picture to your camera roll (or gallery) or share it to any other apps you have in your share sheet.

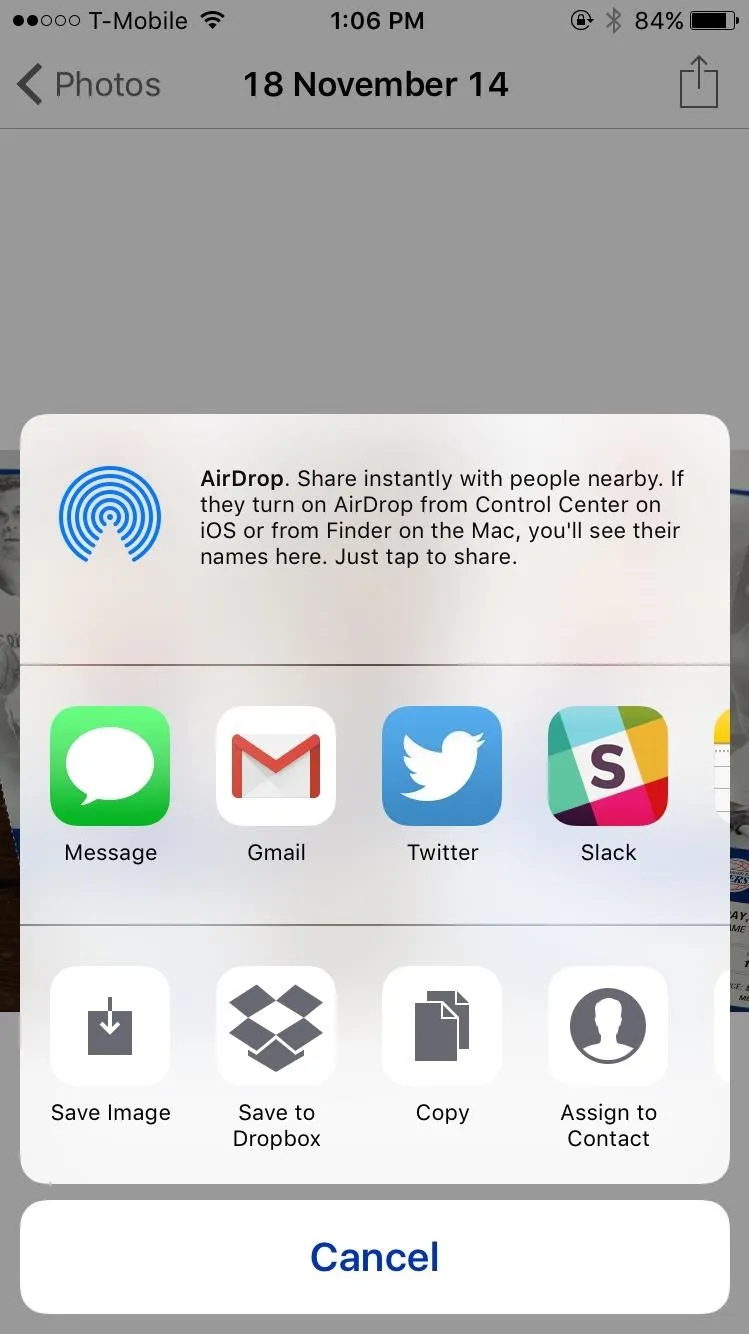


Any future emails you receive that come with attachments will show up in Mailcloud instantly.
Hopefully with these tips, you'll be able to painlessly pull photos from your Gmail account. Let us know your preferred method in the comment section below.
Follow Gadget Hacks over on Facebook, Google+, and Twitter for more tips.












Comments
Be the first, drop a comment!