I regularly use iTunes on my home laptop and my work desktop forty-five traffic minutes away. I'm ashamed to admit it, but until recently, I'd been saving my iTunes library on a USB and transferring it back and forth, over and over again, between the two computers.
Well, this isn't 2010. If you haven't yet, it's time to join me and put your iTunes library folder into the cloud and sync it to several computers at once—without paying for iTunes Match.
Get Dropbox
If you don't already have a Dropbox account, then get one. It's one of the most convenient file-hosting services out there, and these days, pretty much everyone I've ever met uses it. A free account will get you 2GB storage, and you can get an additional 500MB per referral, up to 16GB total. That could explain why everyone uses it.
Instead of keeping all your files on your hard drive, cloud storage services like DropBox allow you to hold them "in the cloud" and access them from any computer without external hardware. Just make sure you download the Dropbox app on each computer you want your music library on.
If you have a pretty big music collection and don't want to pay or bug friends, you could also try out Box, which gives out 10GB for free. I'll be using Dropbox for this guide, though.
Transfer Your iTunes Folder to DropBox
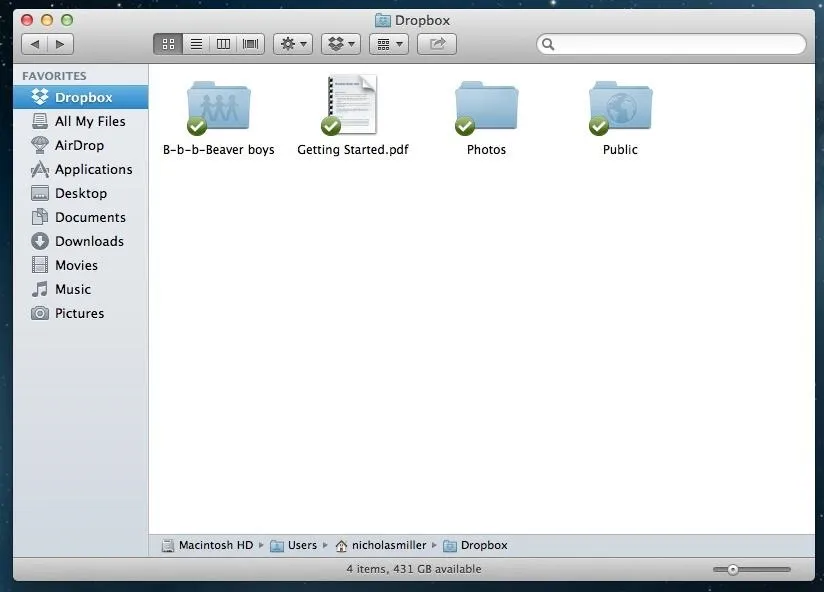
Once you have the Dropbox app installed and are logged in, open a Finder window (or Files Manager on Windows) and open the contents of the Dropbox application.
Next, open a second Finder window, select Music from your folder options on the left, and drag your iTunes folder into the Dropbox window.
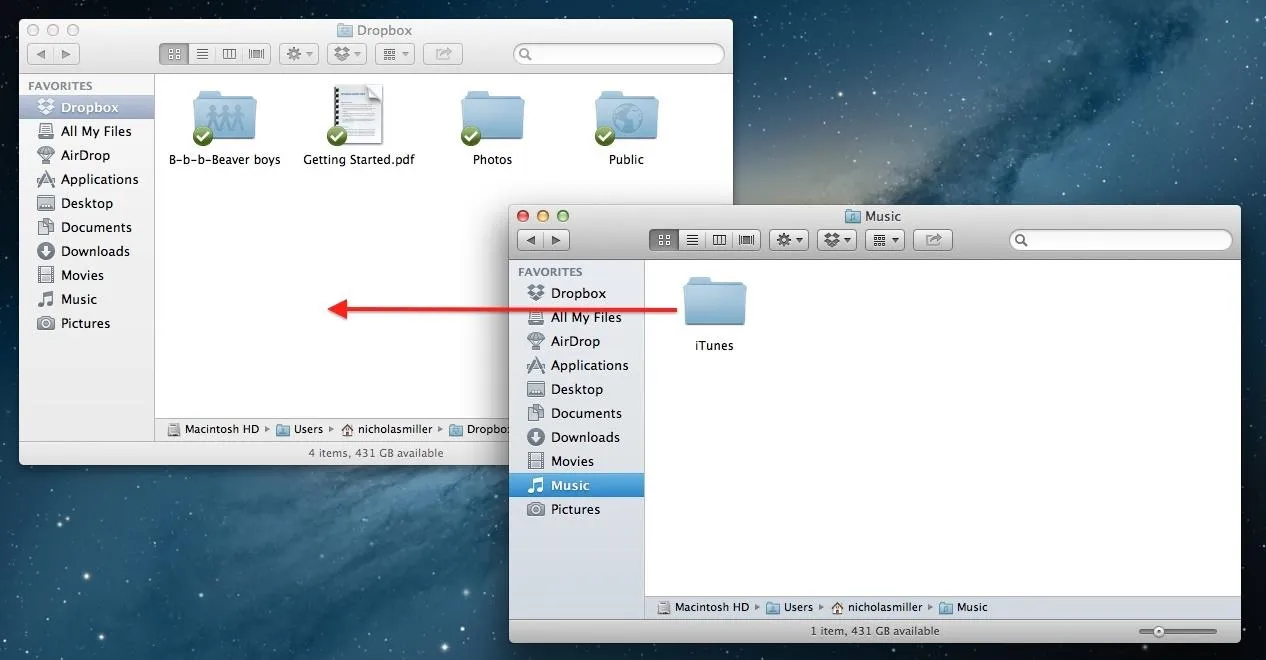
Be warned that this will transfer the folder over, not copy it, and that's exactly what we want to do anyway. Depending on how large your iTunes collection is and how fast your up-speeds are, it could be fairly quick or a very long process. More than likely the latter.
Sync to Your Other Computers
Now it's time to sync iTunes on all of the computers you want to using this new Dropbox folder. Open up your Dropbox folder and make sure it's synced with your computer completely before continuing. This could also take some time, but less time that what you just went through.
Then, make sure that iTunes is completely closed. Once you do that, start it up again and immediately hold the Option key if you are using a Mac. If you're using Windows, hold down Shift and from the Start menu, select All Programs -> iTunes -> iTunes.
Before iTunes starts, a message will appear asking you to choose a library. Select Choose Library.
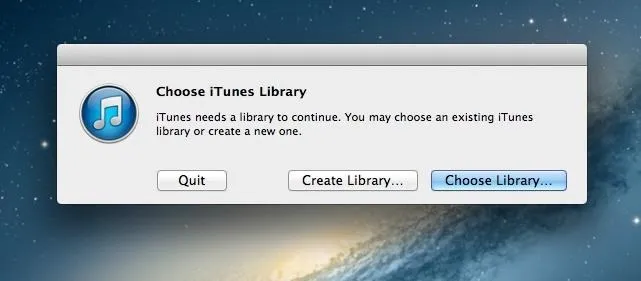
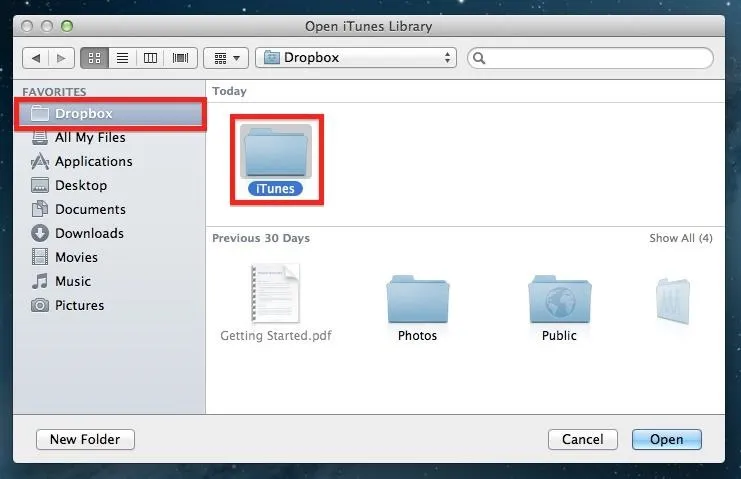
When the Finder window pops up, select Dropbox from the folder options on the left, single-click the iTunes folder so that it's highlighted, and finally select Open.
Change Your iTunes Media Folder Location
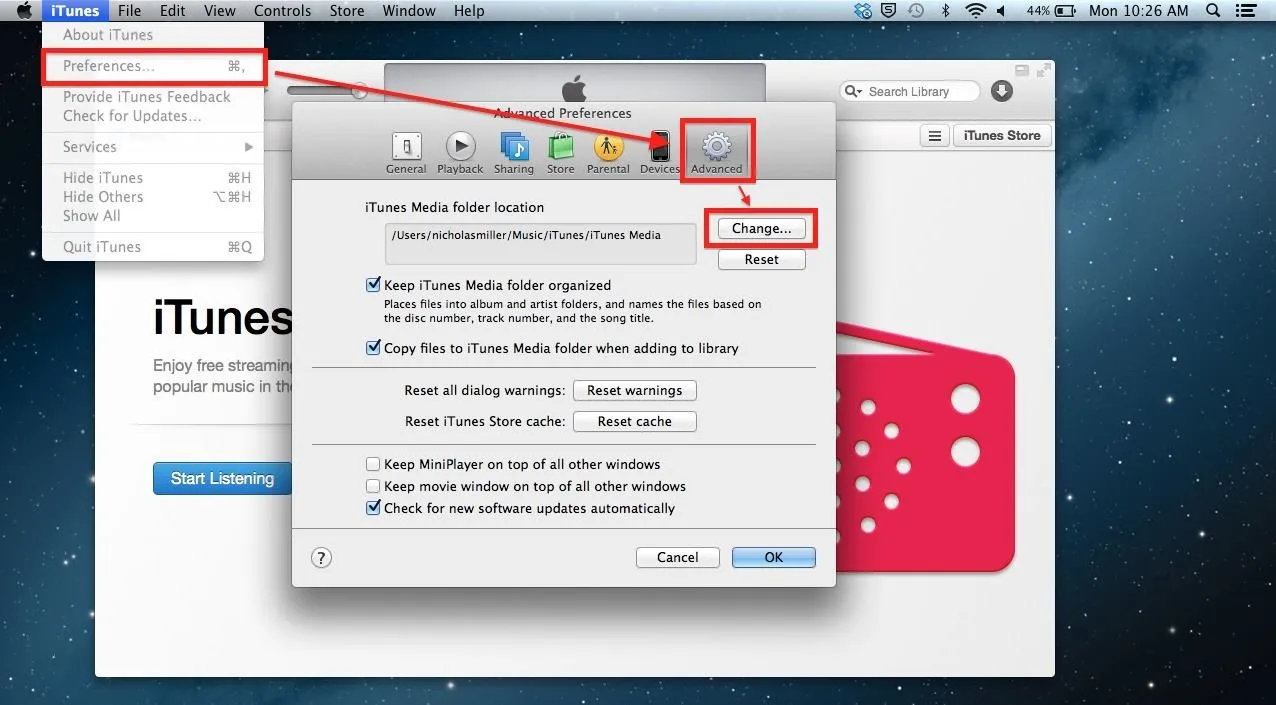
Now, to take it all a step further and sync the entire iTunes Media folder (which is inside the "iTunes" one) to Dropbox, simply go to your iTunes Preferences -> Advanced and hit the Change button.
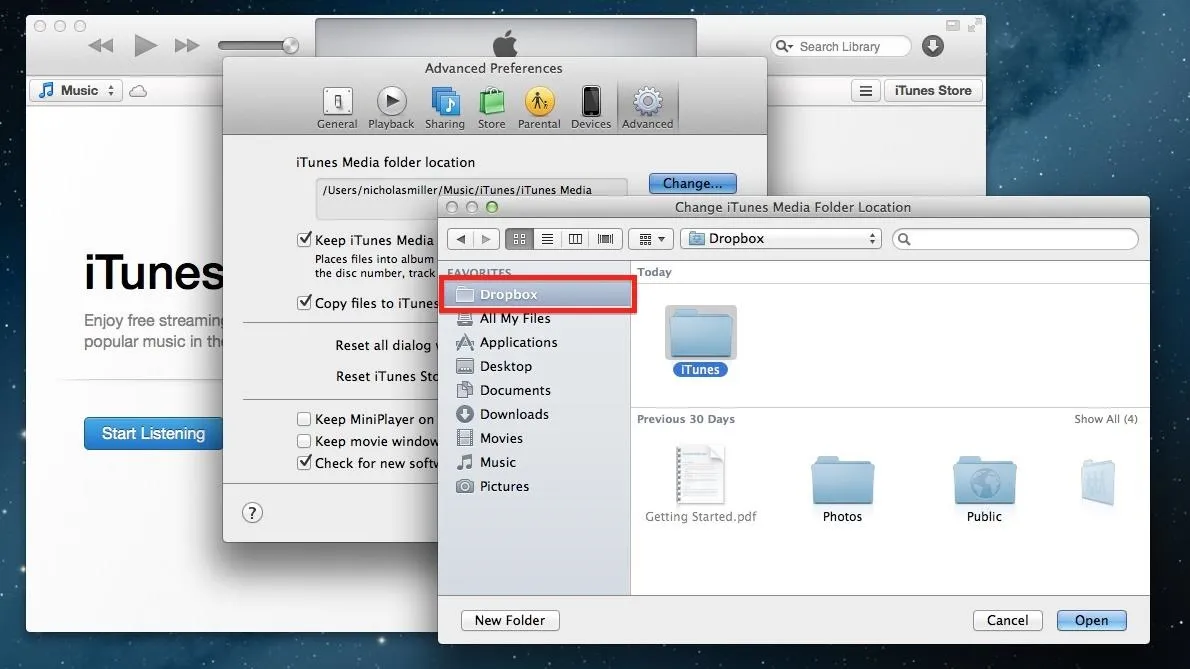
Just as you did in Step 3, when the finder window pops up, select Dropbox, single-click the iTunes folder, and select Open.
And now you're all set. Repeat this on every computer you want to access your iTunes library on and you're golden. Just note that you can only have iTunes open on one computer at a time, so whenever you leave one computer, make sure iTunes is closed, to prevent any issues.
Drop a line down below if you have any questions.











Comments
Be the first, drop a comment!