Dropbox lets you store anywhere from 2 GB to 18 GB of data for free, but if you want more cloud storage you're going to have to pay. Even if you do, Dropbox only gives you 500 GB for a pro membership. So how do you get more cloud storage without paying a dime? Start using Flickr.
That may sound insane, since Flickr is an image-only site, but a few days ago it was redesigned and with it came 1 TB of free storage for basic users. That means you can upload more than half a million high-res photos—for free.
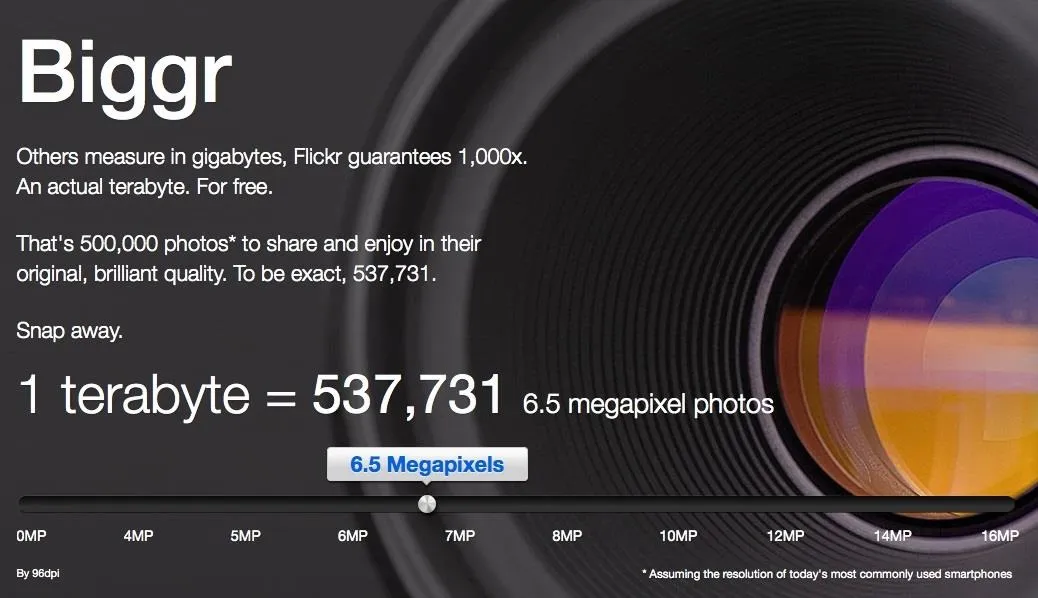
Yahoo, who owns Flickr, knows that most of its users will not use up all that memory, so the terabyte becomes more of a marketing stunt. Other than professional photographers, who really has enough pictures to fill up all of that memory!
But how is this a Dropbox alternative?
As it turns out, there's a way to circumvent Flickr's picture-only upload by using an old steganography trick. By combining an archive (ZIP, RAR) file with a GIF file, properly pronounced as JIF (trust me), you can trick Flickr into letting you upload the fused file. This only works with GIF files, since Flickr can't tell the difference between the multiple image files that make up the GIF and the archive file hiding within.
Personally, I have hundreds, if not thousands, of useless, but not useless files that could be uploaded this way. My laptop would sure thank me for it.
How to Combine a ZIP and GIF into a File Flickr Likes
For this tutorial, I'll be using a Mac. If you have Windows, you can use rlaw68's guide on Reddit, which is where I got my inspiration.
The first thing you'll need to do is download and save any GIF file onto your computer. You can even make one if you want. I found one of some fat dude in a Superman costume "flying up" some escalators and saved it as download123.gif on my desktop.
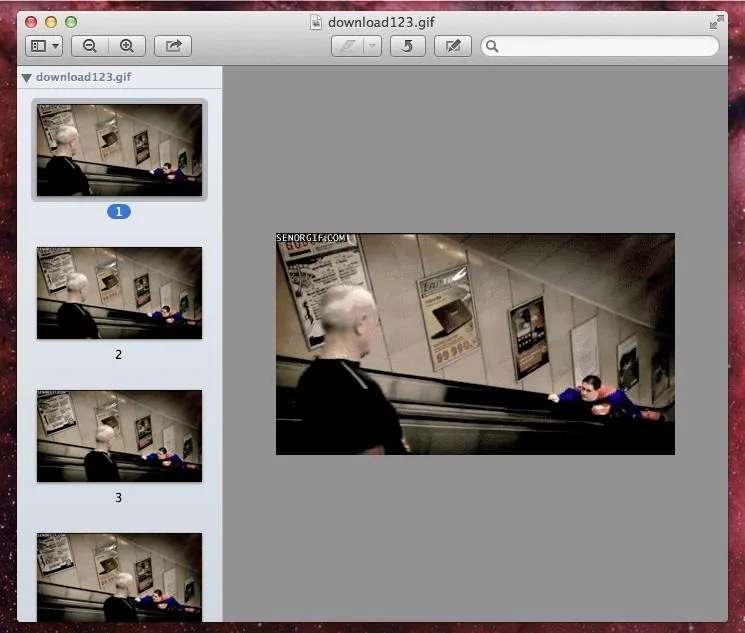
Next, you'll want to gather the files you want to upload onto Flickr and combine them into a ZIP file. This could be anything—videos, text documents, and even more images.
To do this, simply select both files, right-click, and tap on Compress # Items. You can also just throw them all into a folder and compress the folder by right-clicking and selecting Compress "Folder Name".
I converted two Microsoft Word Docs into one ZIP file called Archive.zip.
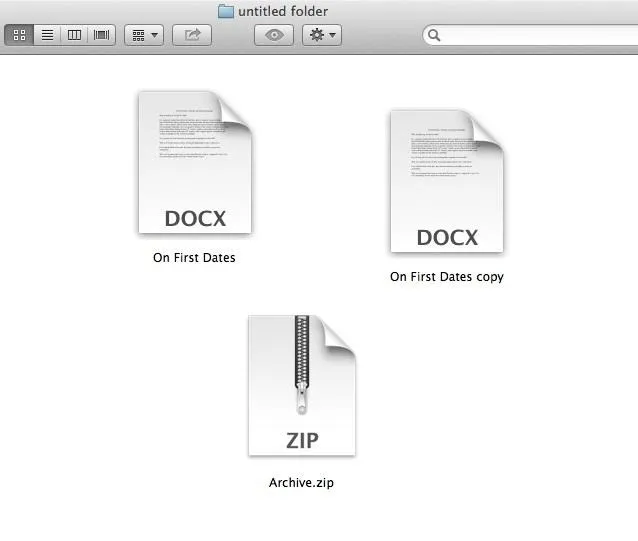
Now that you have both your GIF and ZIP file, you will need to open Terminal in order to combine the files into one tricky GIF file. Once you open a Terminal window, enter the following, and press Enter:
- cat download123.gif Archive.zip > combined.gif
What this means is that after manually typing in cat, drag your GIF file onto Terminal (mine is download123.gif) so that you get the path directory. Next, drag the ZIP file (mine is Archive.zip) in the same way (the space beforehand should automatically be created).
After that, make sure there is one space following and type the > sign with another space afterwards, then the path and name of the file you intend to create. If you want it to land on your desktop, you'll have to type that, like:
- /Users/yourname/Desktop/combined.gif
If you take the easy way out like I did and just typed combined.gif instead of including the path (see below image), the file will appear in your main user directory, i.e. /Users/yourname.
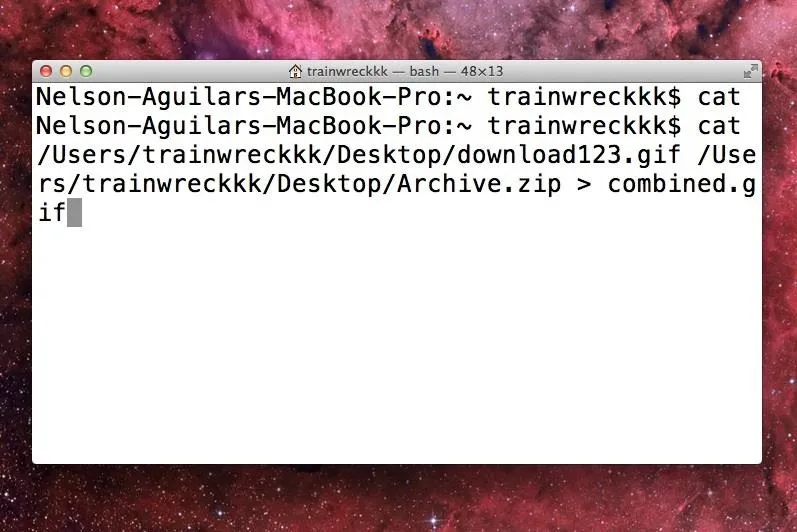
If you still have trouble finding it, do a Spotlight search.
Once you have the file you can upload it to Flickr, giving you a photo in your Photostream that isn't just a picture, but a folder of secret files.
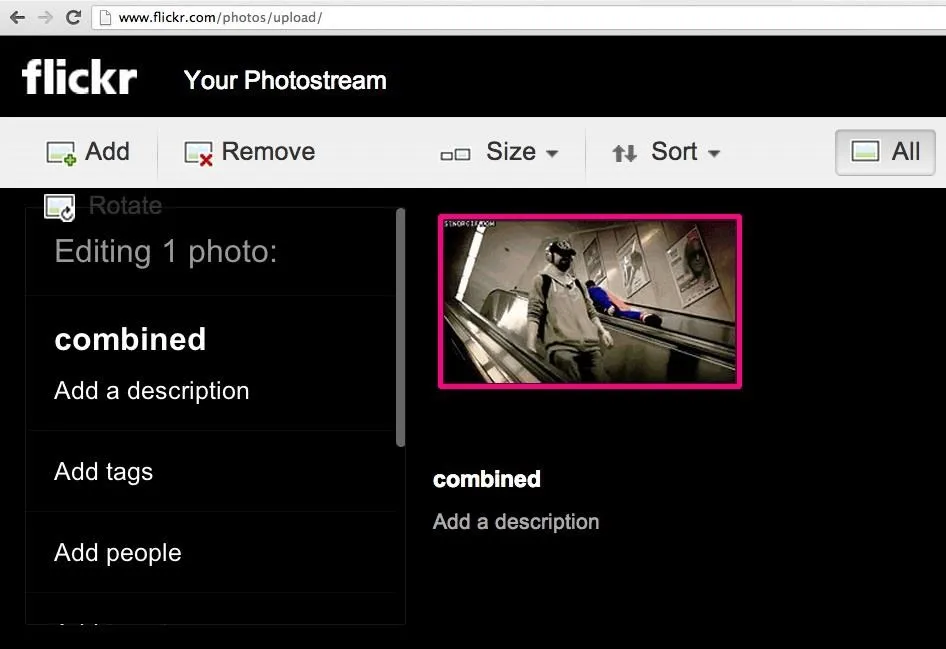
In order to retrieve the embedded files, download the file onto your computer and rename it with a .zip ending. Unzipping it normally with your Mac's Archive Utility does not work, resulting in a useless .zip.gpgz file. Instead, you'll need to open up Terminal again and type:
- cd ./Desktop
This command will change the directory so that your file is unzipped to your Desktop. Now, there's on more step. In the Terminal window, type:
- unzip combined.zip
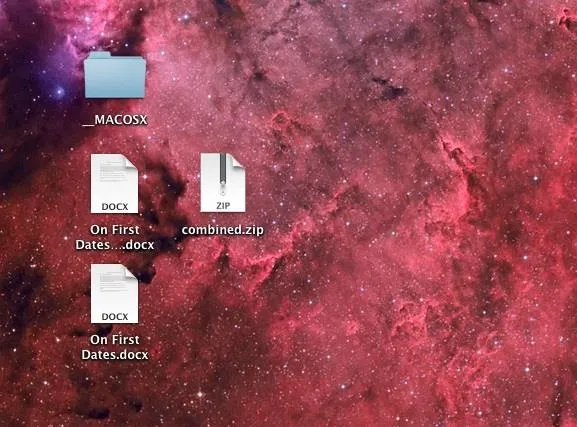
Again, make sure that you drag the file in where combined.zip is so that you get the file's path, too. Afterwards, press Enter and the files will show up on your desktop, along with an empty folder called _MACOSX (which you can delete).
Feel free to experiment with how many files can be zipped together and combined with the GIF files. You have a terabyte of memory, you might as well use it all right?
Just make sure to remember what files are hidden in what GIF file!!!

















Comments
Be the first, drop a comment!